
Following on from conversations at 2022 Scottish Summit and Commsverse, plus an ongoing conversation with @aaron_rendell86 about a nail bar at South Coast Summit, I decided to have a go at creating my own custom nail art. As my skills are technical and not artistic, this mean I needed a “copy & paste” solution!
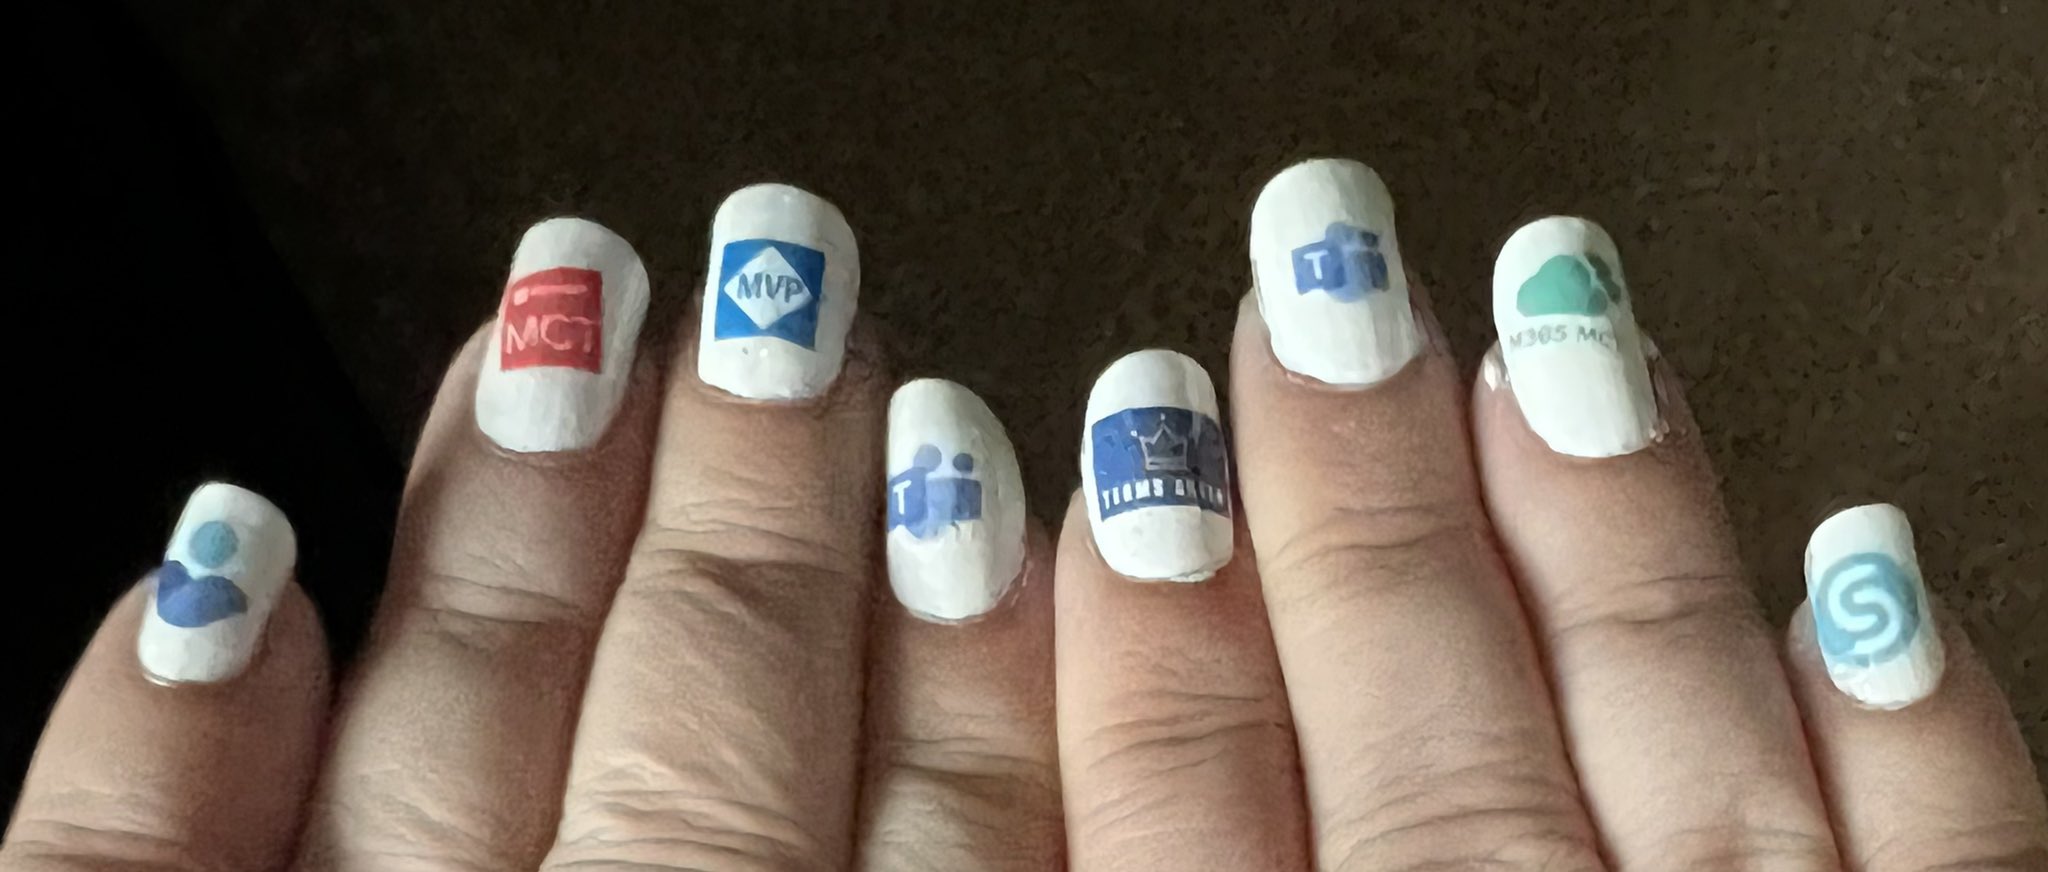
I did it!
Want to create your own?
To create the nail stickers you’ll need:
- Water Slide paper suitable for your printer. I used this one, I found on Amazon UK
- Clear gloss spray vanish. I used this one.
- Your images
- Printer
To apply the stickers you’ll need:
- painted nails
- bowl of warm water
- tweezers
- clean cloth, preferably lint free to smooth sticker to nail
- clear nail varnish
To create my stickers:
- Create your art! I arranged the chosen images on a PowerPoint Slide, using different sizes of images. After trying a few sizes 0.7cm or 0.8cm square are about the correct size for my nails and nicely visible. I tested the sizes by printing on plain paper, cutting out the images and trying them on the nails.
- Once you are happy print your art onto the waterslide paper.
- Let the printing dry for about 30 minutes
- Spray with the varnish to seal. I did two coats of varnish 30 minutes apart, but follow the directions on your chosen product. I sprayed my sheets outside using an old carboard box behind the paper to avoid varnishing the garden furniture too.
- Leave to dry for at least 24 hours
- Cut out your stickers. As my water slide paper is clear, I did not need to be precise, but the edges are still a little visible so be as tidy as you can manage.
- Apply one sticker at a time to prepared nails. I went with white nail varnish, but any clean nail surface will work.
- Drop the sticker into the water. After a couple of seconds remove and slide the sticker from the backing paper. I found that rubbing the sticker between two fingers, to start the separation the easiest. Then when the sticker was part way off the backing paper, I picked up the sticker with my tweezers.
- Place the sticker into position on the nail. I used tweezers to avoid damaging the sticky on the reverse as much as possible, but you can reposition the nail sticker once or twice.
- Smooth down the sticker to the nail, working from one side to ensure no lumps, bubbles or folds in your sticker
- Cover with clear nail varnish. Use a colourless top coat for best effect.
- Let you varnish dry a little before doing the next nail. Or work with an assistant.
The stickers are not going to last as long as a full manicure, probably only about 2-3 days, but that covers most conferences.
